Why Dry Potatoes Are the Key to Perfect Piping
When it comes to making beautiful, bakery-style duchess potatoes, the secret starts long before you pick up the piping bag, it begins with how dry your potatoes are. Excess moisture creates a loose, gummy texture that won’t hold those signature tall, defined swirls. By boiling the potatoes in salted water, draining them well, and allowing them to steam in the warm pot for an extra minute, you remove just enough moisture to create a firmer, fluffier mash. This drier base gives you a mixture that pipes cleanly, holds its shape during baking, and develops crisp, golden edges instead of flattening out. If you want duchess potatoes that look as stunning as they taste, drying them properly is the step you can’t skip.
5 Common Mistakes to Avoid When Making Duchess Potatoes
1. Not Drying the Potatoes Enough
Too much moisture is the #1 reason duchess potatoes spread or collapse in the oven. After boiling, drain well and let the potatoes sit in the warm pot for a minute to steam off excess water. Dry potatoes = firm piping and crisp edges.
2. Using the Wrong Type of Potato
Waxy varieties like red or gold potatoes can make the mixture dense and sticky. For the fluffiest results, always use high-starch potatoes such as Russets or Yukon Golds.
3. Leaving Lumps in the Mash
Even tiny lumps can clog the piping tip and ruin your swirls. Use a ricer, food mill, or fine masher to get a silky-smooth mash before adding any butter or egg yolks.
4. Skipping the Egg Wash
That glossy, golden finish doesn’t just happen on its own. A light egg wash helps the potatoes develop their signature color and crispness. Don’t skip it!
5. Piping Too Close Together
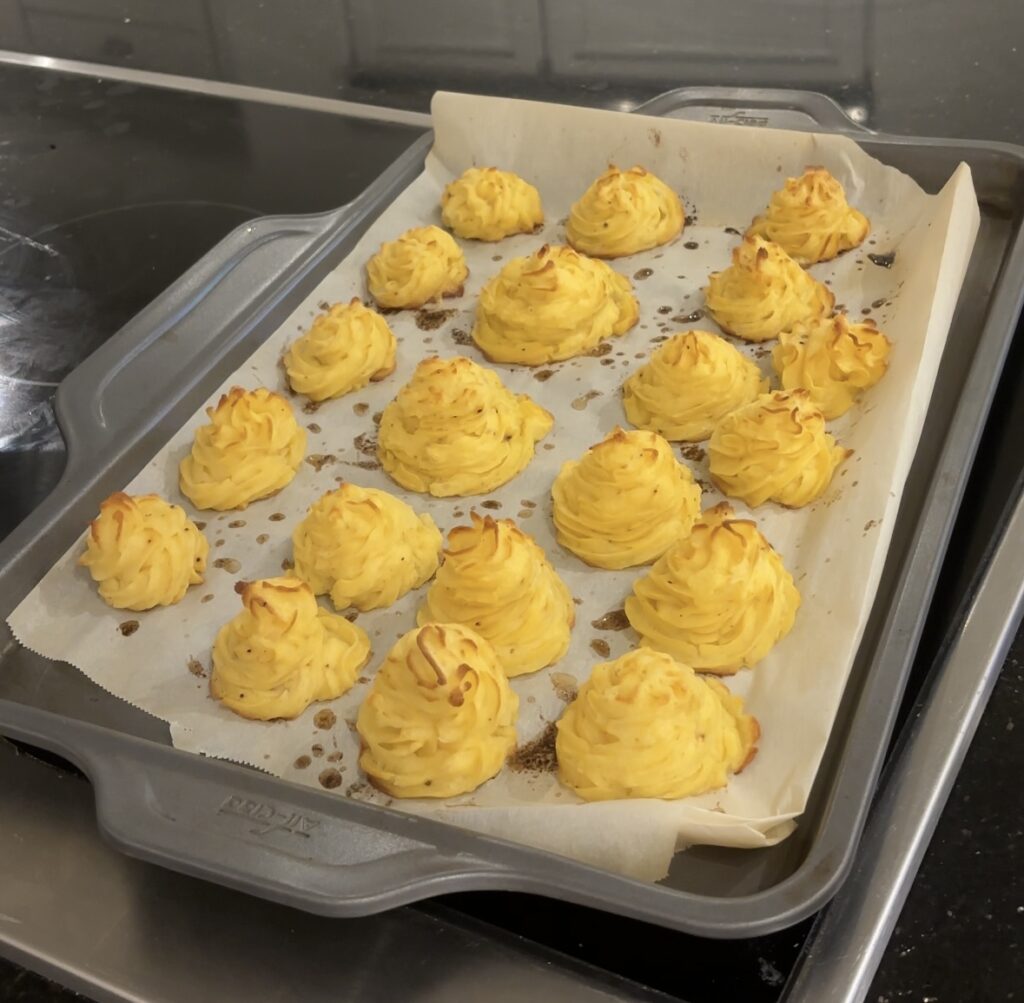
Duchess potatoes need space to brown properly. If the swirls are too close, they’ll steam instead of crisp. Leave at least 2 inches between each mound on the baking sheet.
Prep Them in Advance
One of the best things about duchess potatoes is how beautifully they lend themselves to make-ahead prep, perfect for holidays, dinner parties, or any meal where you don’t want to juggle too many dishes at once. After piping your swirls onto the baking sheet, simply cover the tray tightly with plastic wrap and refrigerate for up to 24 hours. When you’re ready to bake, brush them with the egg wash and pop them straight into the oven. No need to let them come to room temperature. The swirls hold their shape, the texture stays creamy, and you still get those gorgeous golden edges. This make-ahead trick ensures you get all the wow-factor with none of the last-minute stress.
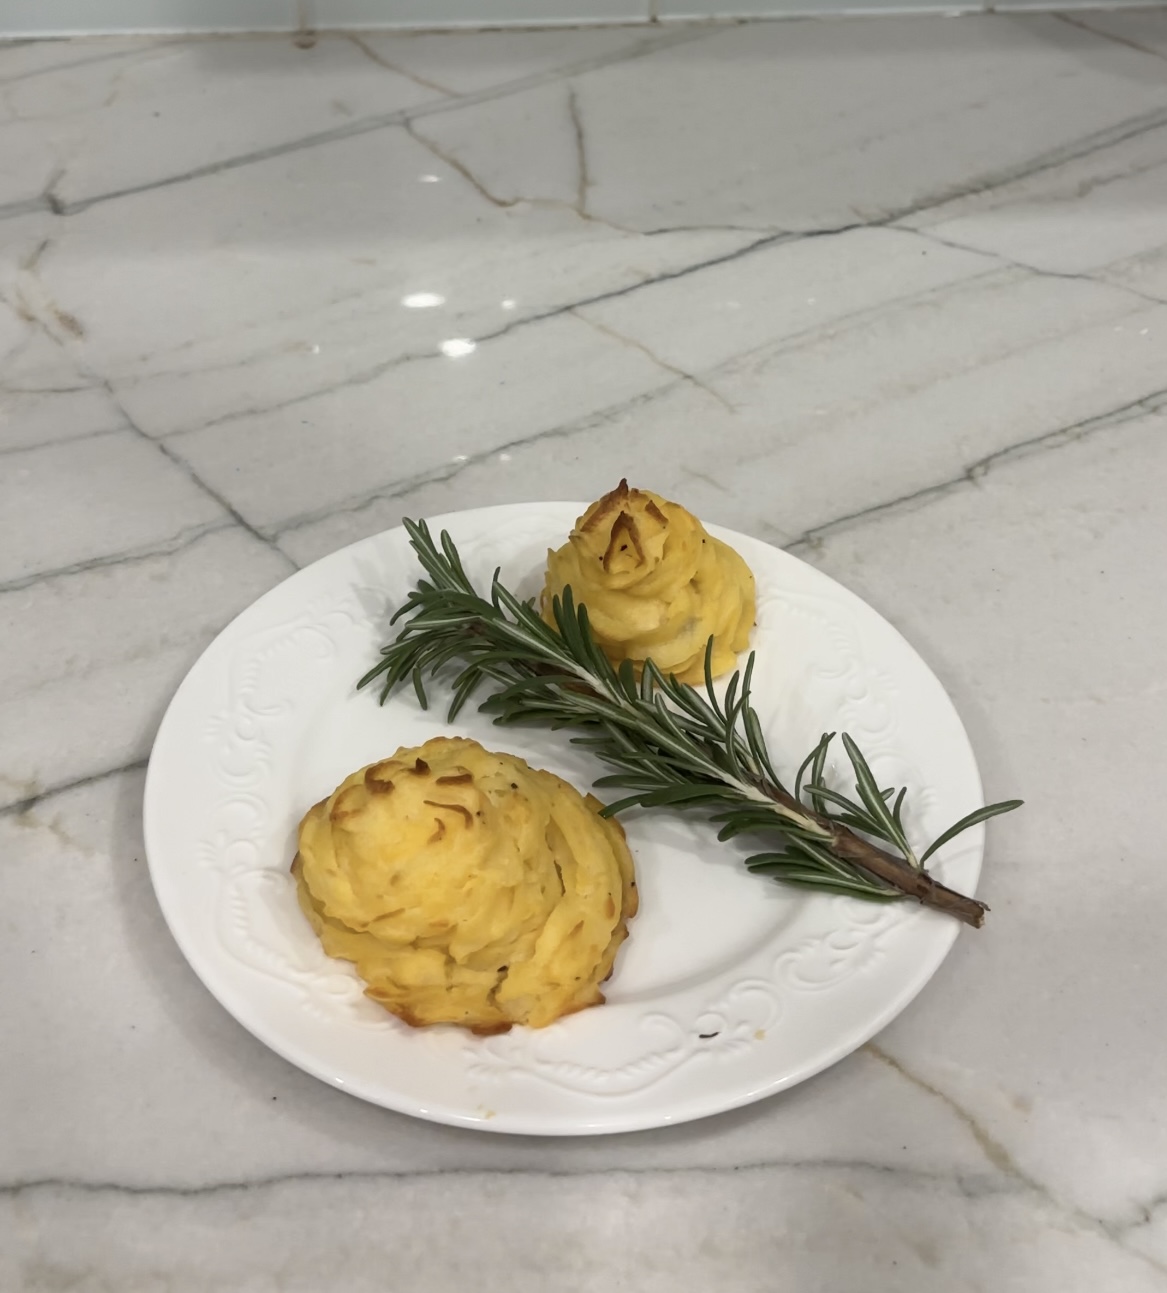
How to Get Crispy Edges and a Creamy Center Every Time
The magic of duchess potatoes lies in that perfect contrast: delicately crisp, golden edges wrapped around a soft, creamy center. To achieve this balance every time, start with well-dried potatoes as too much moisture prevents browning and causes the swirls to flatten. Enrich the mash with butter, cream, and egg yolks to create a smooth, sturdy texture that pipes beautifully and bakes into a tender interior. Piping the potatoes with a large star tip helps create ridges that naturally crisp in the oven, while spacing the swirls at least two inches apart ensures even airflow. Finally, a light egg wash before baking gives the edges their signature shine and crunch. With these techniques combined, every bite delivers that irresistible mix of crisp exterior and velvety middle.
Duchess Potatoes vs. Mashed Potatoes
Both duchess potatoes and classic mashed potatoes start with the same humble ingredient, but the final results couldn’t be more different. Mashed potatoes are all about comfort: soft, creamy, and spoonable, they’re the kind of side dish that pairs with almost anything. Duchess potatoes, on the other hand, are their elegant, dressed-up cousin. The addition of egg yolks, butter, and cream transforms the mash into a richer, pipeable mixture that bakes into beautiful golden swirls with crisp, defined edges. While mashed potatoes shine in their simplicity, duchess potatoes bring presentation and texture to a whole new level, making them ideal for holidays, special occasions, or anytime you want to elevate your plate. Same ingredients, but totally different experience.
Flavor Variations: From Garlic Parmesan to Truffle Herb Duchess Potatoes
One of the best parts about duchess potatoes is how easily you can customize them with bold, flavorful twists. For a classic upgrade, fold in roasted garlic and freshly grated Parmesan for a savory, comforting version that pairs with almost anything. If you want something more aromatic, try mixing in chopped fresh herbs like rosemary, thyme, or chives as these add a bright, earthy lift to the rich potato base. For a gourmet touch, a drizzle of truffle oil or a sprinkle of truffle salt turns your duchess potatoes into an indulgent, restaurant-worthy side dish. Whether you go rustic, cheesy, herby, or luxuriously truffled, these simple additions make it easy to tailor the flavor to any meal or special occasion.
PrintDuchess Potatoes
Ingredients
-
2 lbs (about 4–5 medium) Yukon Gold or Russet potatoes, peeled and cut into chunks
-
4 tbsp unsalted butter
-
½ cup heavy cream (or whole milk for a lighter version)
-
3 large egg yolks
-
½ tsp salt (adjust to taste)
-
¼ tsp black pepper
-
⅛ tsp nutmeg (optional but traditional)
-
1–2 tbsp grated Parmesan cheese (optional, for richer flavor)
-
1 beaten egg (for brushing)
Instructions
- Place peeled potato chunks in a large pot of cold salted water. Bring to a boil, then reduce heat and simmer until the potatoes are very tender (about 15–18 minutes).
- Drain well, then return the potatoes to the warm pot for 1 minute to steam off excess moisture.
This step is crucial as drier potatoes = better piping and crispier edges. - Mash the potatoes until completely smooth. Avoid lumps as they will clog your piping tip.
- Stir in the butter, cream, egg yolks, salt, pepper, nutmeg, and optional Parmesan. Mix gently until creamy and fully combined.
- Transfer the mixture to a piping bag fitted with a large star tip. Pipe tall swirls onto a parchment-lined baking sheet, spacing them about 2 inches apart.
- Lightly brush each swirl with the beaten egg for a glossy, golden finish.
- Bake at 425°F (220°C) for 18–22 minutes, or until the edges turn beautifully brown and crisp.