
Why Sourdough?
With sourdough recipes trending on social media, sourdough has grown in popularity over the past few years. Sourdough is a bread that is created through a starter, which is a culture of healthy yeast and bacteria. The combination of water and flour fermenting produces lactic acid, acetic acid, and carbon dioxide. This gives the bread its famous sour flavor. The fermentation is a slow process, taking about 1-2 days for a loaf of bread. This slow process grows healthy probiotics that help with digestion. In addition, sourdough has a lower glycemic index than other breads since the fermentation makes starch less available. Sourdough is super fun to make at home, and taste even better than loafs you buy at the store! Homemade sourdough only has a few ingredients: salt, starter, flour and water!
Visit https://communityhealth.mayoclinic.org/featured-stories/sourdough-bread-benefits for more information on sourdough and its health benefits.
What Got Me into Sourdough
When I was in college, I was in a beginner’s nutrition class and my professor mentioned how sourdough has a slightly different taste in different areas of the world. This is because different environments have different bacteria, which affect the taste of sourdough. Hence why San Francisco sourdough may taste different than if I were to make the same recipe in my home here in Arizona! As a student, this amazed me. My brother already knew about baking sourdough, so I reached out to him and he walked me through the basics of learning about making my own sourdough. Now there is no looking back!
Where to Get a Starter
To start, I think it is always fun to try to make your own starter. I tried making my own when I started my sourdough journey. It is fun for learning, but I struggled with keeping my starter active. From what I have heard, buying an already established starter makes the upkeep much easier, since the bacteria and yeast are already established. So I bought my starter on Etsy, and it has been wonderful! Now, whenever I cannot feed it every day, I can put it in the fridge. When I am ready to reactivate it for baking, I just pull it out, give it a few feeds and it’s ready to bake with!
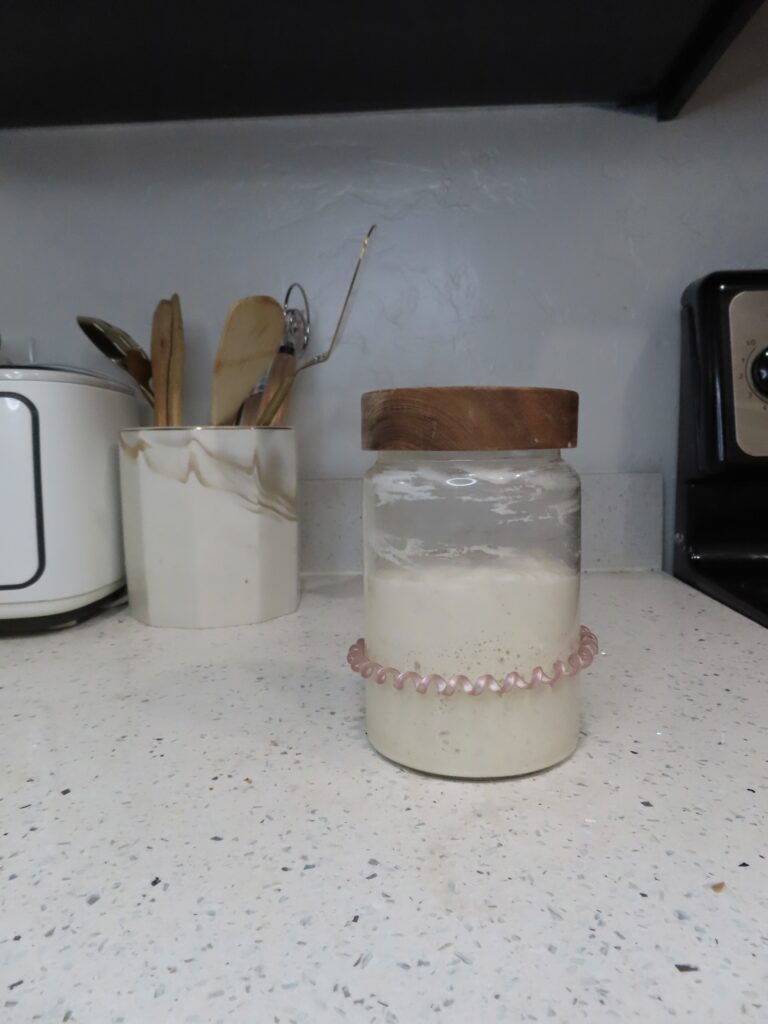
What Does it Mean to “Feed” Your Starter
Since the starter is full of bacteria and yeast, it is a living thing. Because of this, to keep it active and bubbly, it needs to be fed every 12-24 hours when kept at room temperature. I keep mine in a jar without a neck to make it easy to feed and mix. I like to use about a 1:1:1 ratio of flour to water to starter. When it has been in the fridge for a while, I like to add a little more flour to help it bounce back. When feeding it, keep in mind that your starter will grow. Do not poor extra starter down the drain, it will clog. Either pour it in the trash or keep it in another jar as a discard for other recipes. Also, do not feed your starter bleached flour or use metal utensils to mix. It can destroy some of the bacteria and yeast, weakening your starter.
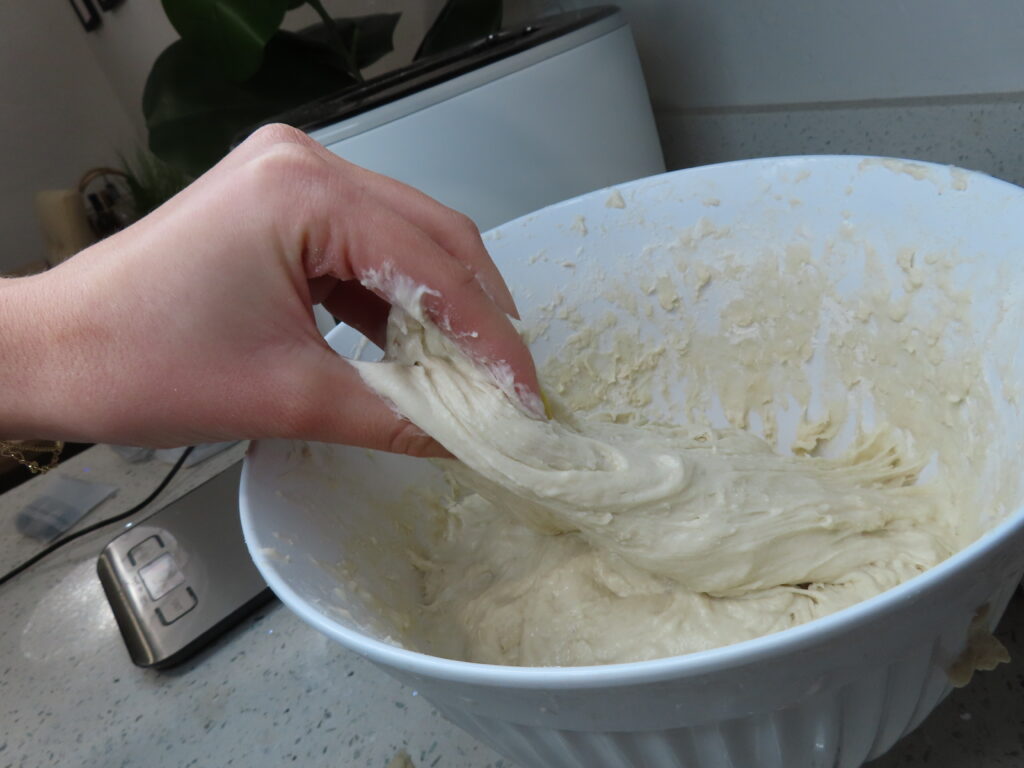
What Does the Stretch and Folds do?
When doing a stretch and fold, you are pulling one end of the dough up by about 5 inches and over towards the other side of the dough. Then you rotate the bowl and repeat this process. Normally, stretch and folds are completed in about 3 rounds. This helps strengthen the dough, improves the rise and allows for the bread to have a nice crumb.
Equipment I like to use:
- bread whisk
- pizza stone
- mixing bowl
- scale
- tea cloth
- bench scraper
My baking schedule:
8am: feed starter
1:00pm: mix dough (this time may vary depending how long it takes starter to double, if its colder inside this will take longer)
1:00-3:00pm: stretch a folds
3:00 – 7:00pm: fermentation outside of fridge
Overnight: finish fermentation in fridge
9:00am the next morning: Take out of fridge and shape
10:00am: preheat over
10:30 am: bake for 25-30 minutes
Lunchtime: Enjoy eating the ciabatta rolls 🙂
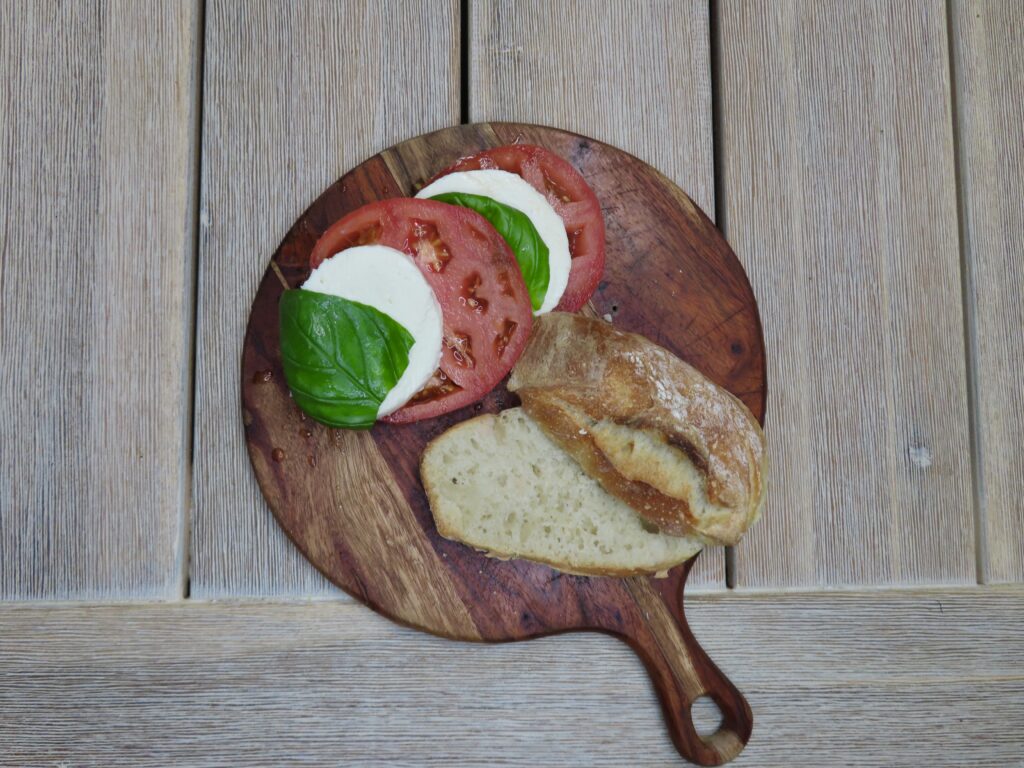
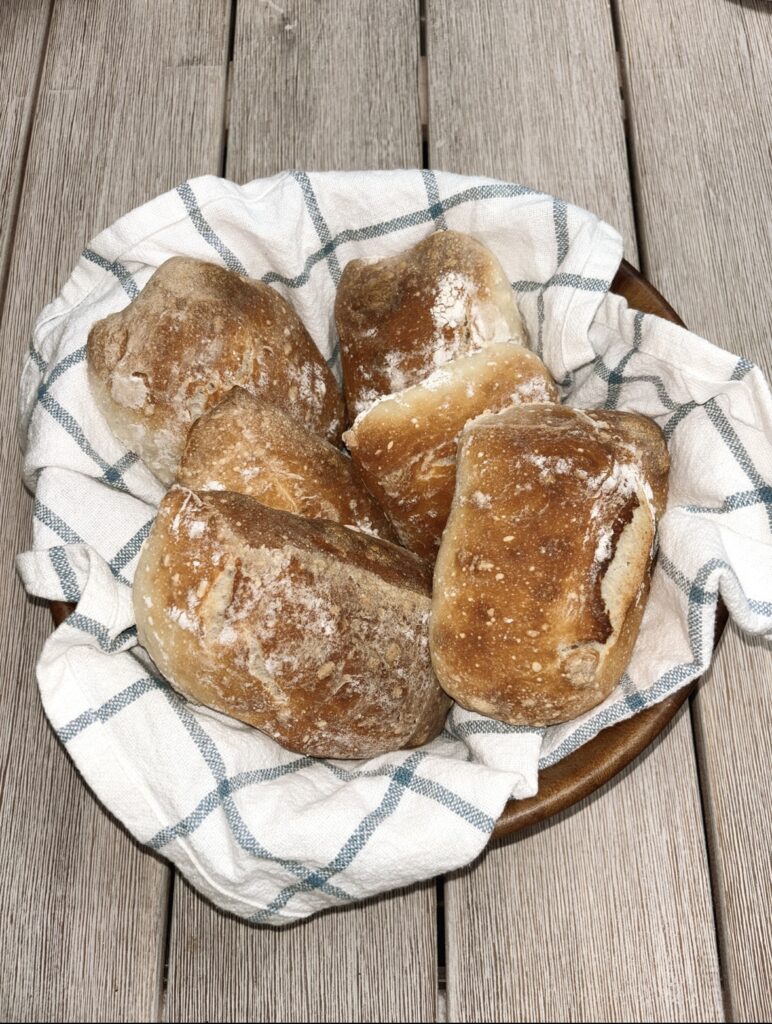
Sourdough Ciabatta Rolls

These sourdough ciabatta rolls are soft and fluffy in the inside, and crispy and golden on the outside
- Prep Time: 20 hours
- Cook Time: 25 minutes
- Total Time: 20 hours 25 minutes
- Yield: 8 1x
- Category: Sourdough
Ingredients
- 472g water
- 227 g active starter (227g)
- 18g salt
- 660g bread or unbleached all purpose flour
Instructions
1. Feed starter 5-12 hours before prepping the dough
2. Once starter has doubled, combine starter, flour, water, and salt in a large mixing bowl. I like to use a bread whisk but you can also use a fork or your hands.
3. Allow to rest for 30 minutes with a damp tea towel covering the bowl.
4. Perform a round of stretch and folds. To do this, grab one end of the dough and lift it up (about 6 inches) and over towards the other end of the dough. Rotate the bowl a quarter turn and repeat this 3-5 times
5. Do a total of three rounds of stretch and folds, each 30 minutes apart. Make sure you cover the bowl between each round. By the last round, the dough should feel more elastic
6. Cover bowl with damp tea towel and allow it to sit until it doubles. This typically takes me about 4 hours and I keep my house between 70-75 degrees. If your house is colder, this will take longer
7. Transfer the dough into the refrigerator to finish fermenting overnight
8. In the morning, gently take the dough out of the bowl onto a floured surface. Spread out the dough carefully into a large rectangle while trying not to deflate the bubbles
9. Dust the top of the dough with flour and cut the dough into 8. I use a bench scraper and do one large cut through the center lengthwise, and three cuts on each side
10. With the same bench-scraper, transfer onto parchment paper. Cover with a tea towel and allow to sit for 1 hour.
11. After the hour, preheat pizza stone on top rack to 475 degrees
12. Once preheated, use a rimmed baking sheet or dutch oven and fill it with some water. Place this on the bottom rack. This will give the bread a golden outside
13. Place shaped rolled onto the pizza stone, I usually do 3-4 at a time
13. Bake for 25-30 minutes until the outside is golden brown
14. Take out of oven and allow to cool